
Candy Store Display Fixtures: How to Choose Racks, Cabinets and Counters
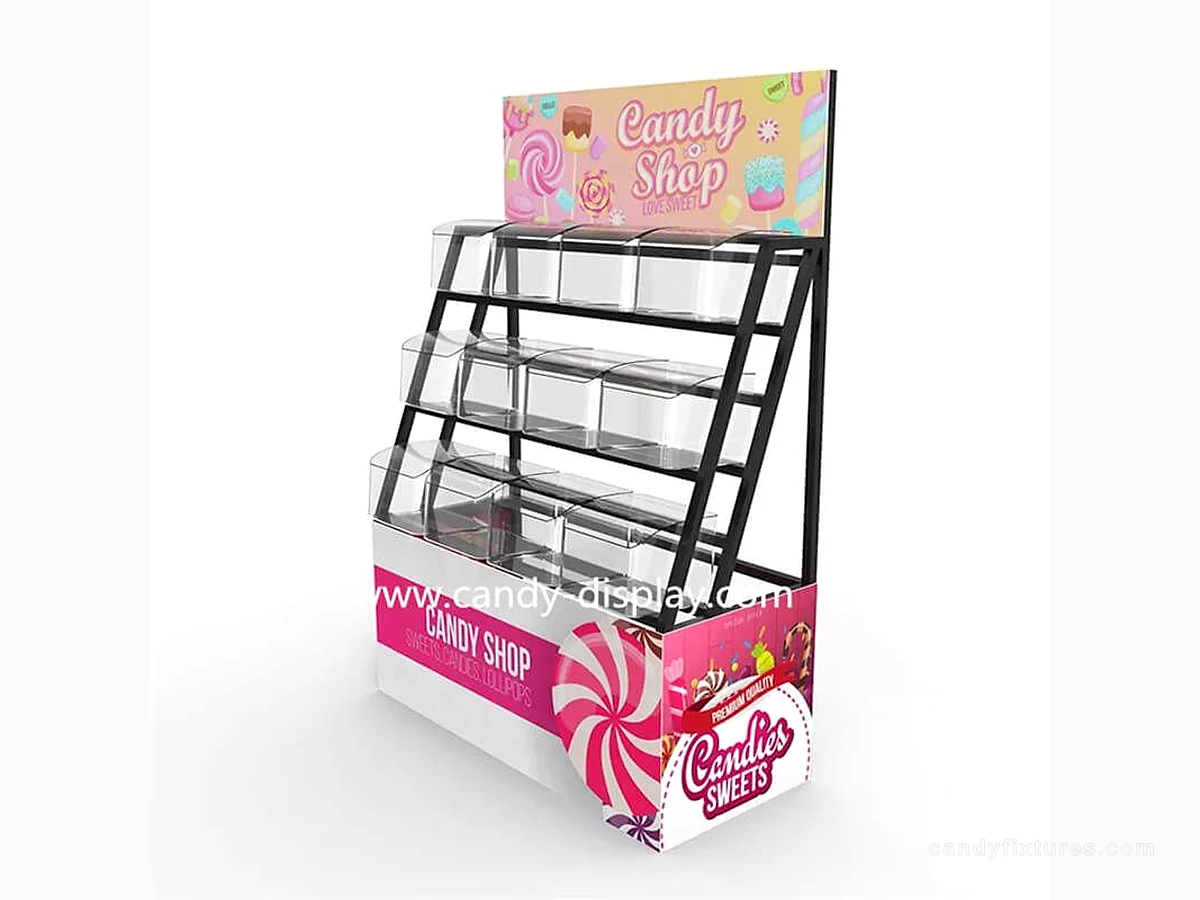
A practical buyer guide to candy store display fixtures, explaining when to use racks, cabinets, counters and custom feature units for different products and store layouts.
Choose the fixture by the customer action
Candy store display fixtures should make a product easy to notice, understand, reach and buy. That sounds simple, but different products need different presentation behaviors. Packaged candy benefits from clear front-facing rows. Bulk candy needs visible containers, labels and a controlled scoop or dispenser action. Gifts need a feature surface and enough room for comparison. Checkout products need quick access without making the payment area feel crowded.
Start your fixture plan with the customer action rather than the furniture name. Ask whether the shopper is browsing a shelf, selecting from a bin, asking for assistance, choosing a gift or completing a transaction. Then match the display height, depth, lighting, signage and staff access to that action.
This approach also keeps the budget realistic. A standard rack may solve a high-volume packaged category, while a custom cabinet may be justified for a brand feature or difficult footprint. The goal is not to make every unit special. The goal is to make every unit useful.
Understand the role of racks, cabinets and counters
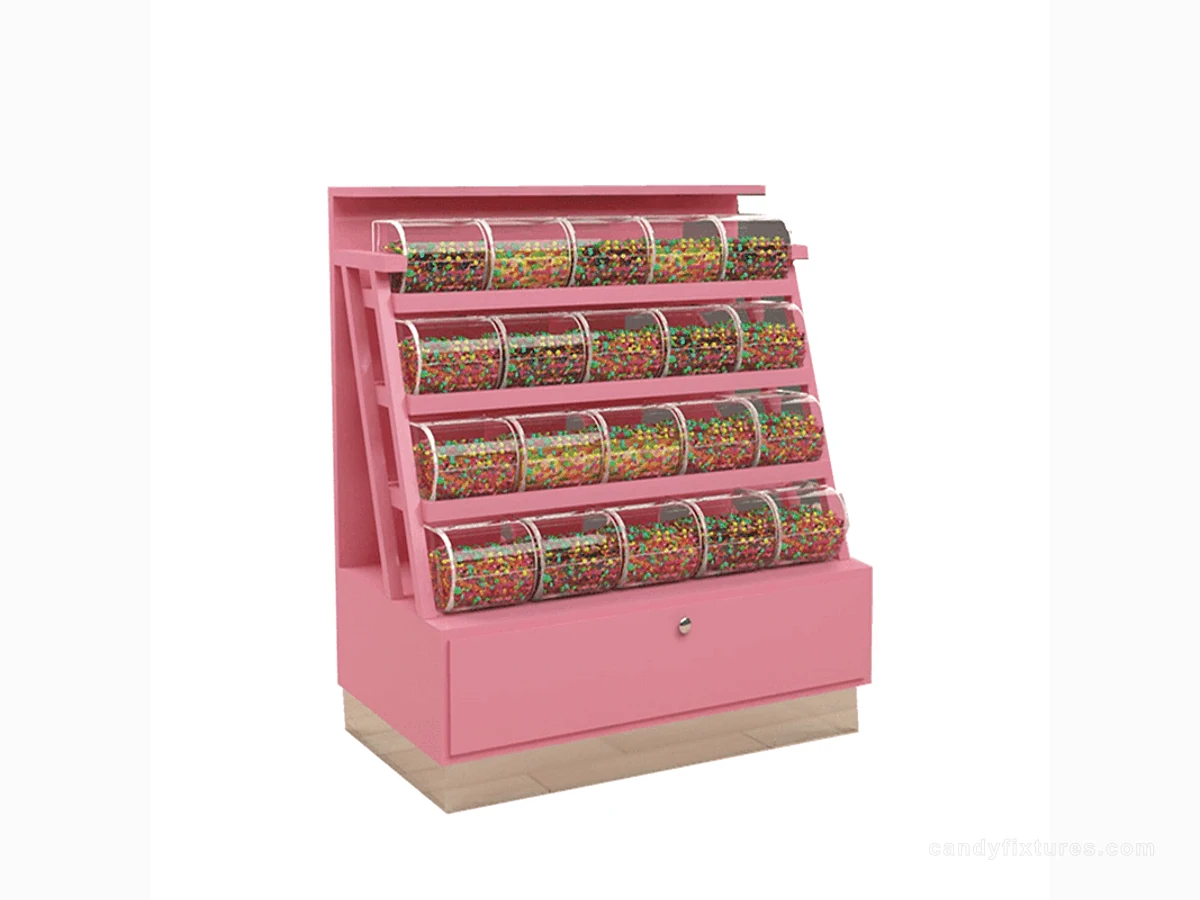
Racks are useful for flexible, visible merchandising. They work well when the product assortment changes often or when the store needs to compare multiple packages at once. The key decisions are shelf spacing, product facing, fixture depth, access from one or both sides and the amount of reserve stock that can sit nearby.
Cabinets are useful when the store needs a stronger visual frame, vertical capacity, concealed storage or a more coordinated interior. A cabinet can create a wall system or a themed feature, but it needs to be checked for refill access and sightline impact. A tall cabinet that looks good in a drawing may hide the store's main offer from the entrance.
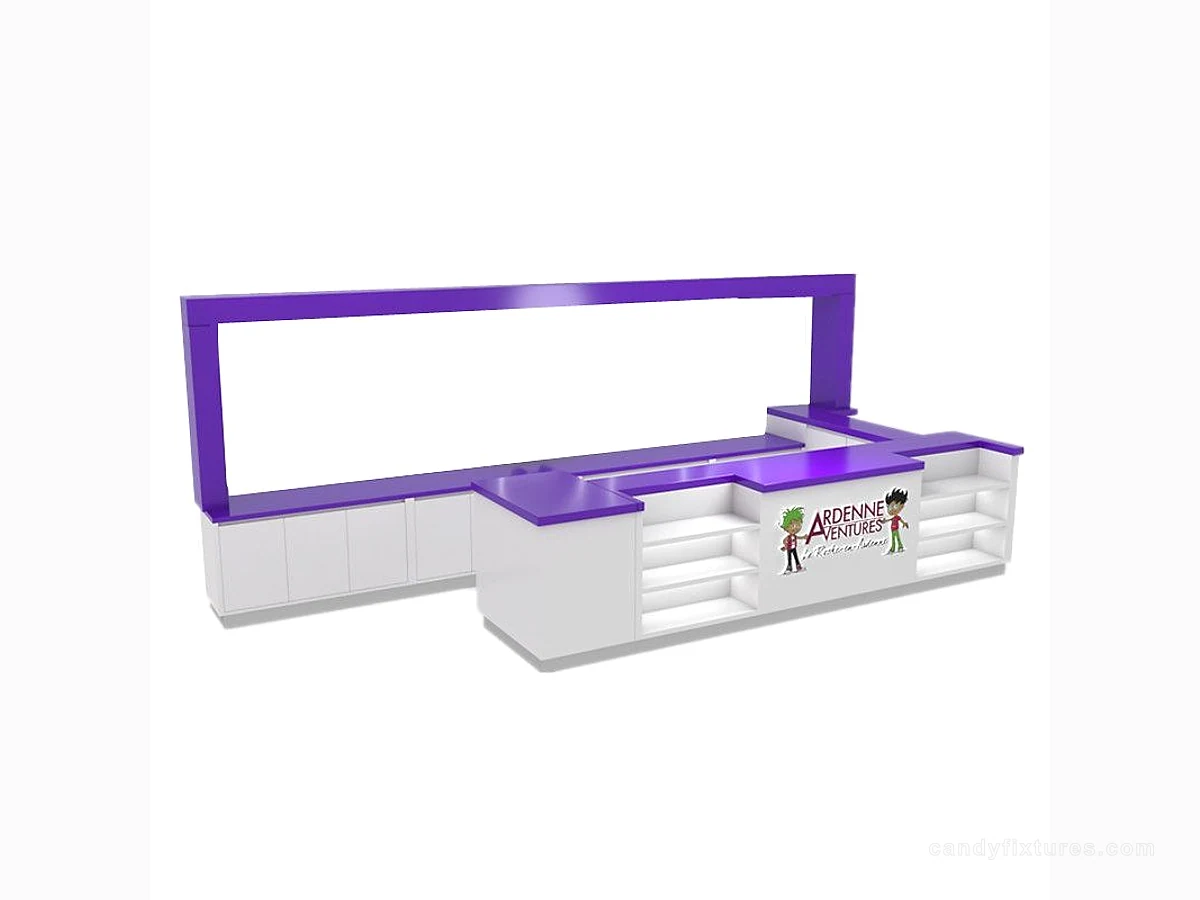
Counters combine selling and working. They may support a checkout, bulk-candy service, gift wrapping, product sampling or a branded focal point. Counter depth should be based on the actual work that happens there. If the counter only holds a register, it can be planned differently from a counter that also holds a scale, bags, labels and reserve stock.
| Fixture type | Useful for | Questions before ordering |
|---|---|---|
| Open rack | Packaged candy, comparison shopping and changing assortments | What shelf spacing, depth and refill side are needed? |
| Wall cabinet | Vertical display, branded collections and concealed reserve storage | Will height block sightlines or make refilling difficult? |
| Service counter | Checkout, weighing, gift wrapping and assisted sales | What equipment, work surface and staff clearance are required? |
| Central island | Seasonal products, bundles and feature collections | Does it leave a comfortable route around the unit? |
| Custom feature unit | Brand landmarks, themed products and unusual footprints | Which visual or operating problem justifies customization? |
The table is a planning comparison. Final dimensions and construction details must be confirmed from the site plan and approved drawings.
Build a merchandise map before fixing shelf positions
List each merchandise group with its package size, selling method, visual priority, stock depth and refill frequency. This can be a simple spreadsheet. The value comes from making the assumptions visible before a rack or cabinet is finalized.
For packaged candy, record the tallest package, the smallest package and the number of facings you want customers to see. For gifts, record the largest display piece and whether customers need to pick it up. For bulk candy, record container access, label position and the staff side of the station. For seasonal goods, record how quickly the display may need to change.
Use the merchandise map to decide where flexibility matters. A fixture with adjustable or removable shelves can be more valuable than a visually complex unit if the product range changes frequently. A custom feature may be more valuable when the same brand collection needs to remain recognizable across several store formats.
- Mark the products that need eye-level visibility and the products that can use lower shelves.
- Separate high-frequency refill items from slow-moving feature products.
- Record the product groups that need labels, price cards, scoops or staff assistance.
- Keep gift, seasonal and promotional areas flexible enough to change without rebuilding the store.
Use sightlines to organize a colorful store
Candy is visually rich, so the display system needs hierarchy. Put the strongest message where approaching shoppers can see it quickly, then use lower-intensity fixtures to guide browsing. If every rack, cabinet and decoration has the same height and color intensity, the store becomes difficult to read.
A clear sightline from the entrance helps customers understand the depth of the store. In a small shop, keep the first display low enough to reveal the main offer behind it. In a larger store, use a feature fixture deeper inside to create a destination and encourage movement through the core assortment.
The same principle applies to signage. A short category sign placed at the shopper's decision point is more useful than a large sign that is visible but disconnected from the product. Keep brand graphics, prices and category messages at different visual levels so they do not compete.
Plan replenishment as part of the fixture
A display fixture is also a daily work tool. Staff need to receive stock, move cartons, refill shelves, remove empty packaging and clean customer-facing surfaces. A unit that maximizes capacity but forces staff to cross the main route several times a day can reduce the store's practical performance.
For wall cabinets, confirm how doors, drawers or removable bins will be accessed. For back-to-back racks, determine which side is customer-facing and which side staff can use for replenishment. For counters, reserve a place for bags, labels, a scale or other equipment before the front panel is finalized.
When you request a quotation, ask for the operating assumptions behind the design. Dimensions, finish and graphics matter, but so do access panels, packing modules, installation sequence and the location of reserve storage. These details help the fixture work after the opening day.
Review materials and finish without overpromising
Candy store fixtures are touched, cleaned and replenished frequently. Select finishes that match the expected use and can be maintained with the cleaning process allowed at the site. The visible material, edge treatment, hardware and lighting should be discussed together because a change in one can affect the durability and appearance of the others.
Do not assume that a photograph proves a hidden construction detail, a certification or a universal food-contact approval. The product image is a design reference. The final material and specification should be recorded in the approved drawing and checked against the project requirements.
For locations with a strong brand concept, finish consistency may matter more than adding another decorative shape. A coordinated palette across racks, cabinets, counters and signs can make a mixed fixture set look like one store system.
Prepare a fixture quotation checklist
A supplier can give a more useful quotation when the request includes the site, assortment and operating details. Send the plan dimensions, ceiling height, entrances, fixed obstacles, delivery route, preferred finish, lighting direction, product groups and installation window. Add reference images only when they explain a requirement.
Ask the quotation to separate standard, modified and custom units. Ask what is included for packaging, delivery, unloading, installation, graphics, lighting and equipment coordination. If the project is in a mall, include the landlord's delivery and installation rules before approving the production drawing.
The final decision should compare more than price. Compare capacity, visibility, refill time, cleaning access, flexibility, delivery complexity and how well each option supports the intended customer experience.
- Site plan and confirmed usable dimensions.
- Product and package list with priority categories.
- Fixture schedule showing rack, cabinet, counter and feature roles.
- Finish, color, logo, lighting and signage direction.
- Delivery route, installation window and responsibility for local work.
Related products and planning pages
Candy display racks Metal storage racks used in candy retail storesCandy display counter used in retail stores & malls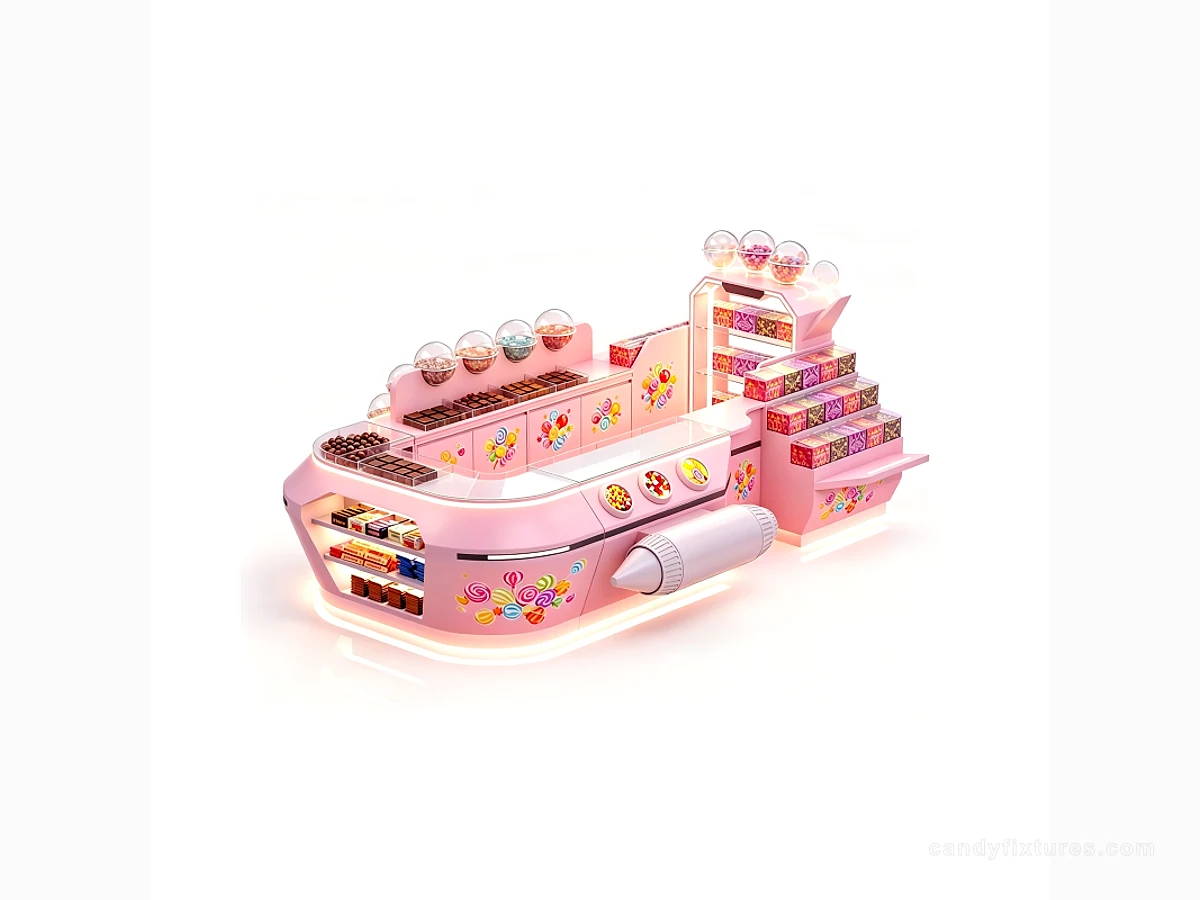 Candy Boat Kiosk Pink Candy Counter Sweet Retail Store Bar Candy Spaceship Display
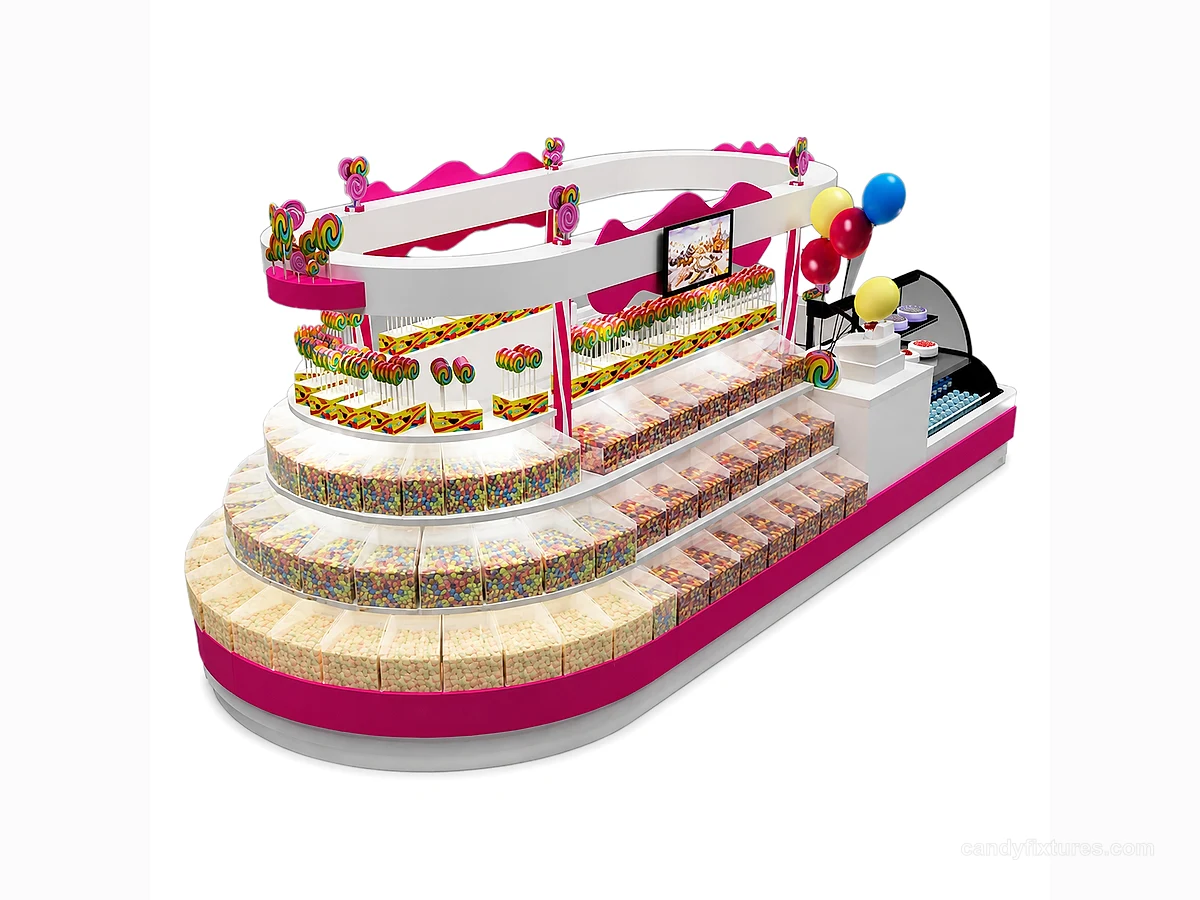 Boat Shape High-end Shopping Mall Candy & Ice Cream Kiosk CustomCandy store layout guideStart with circulation, customer zones and replenishment.Bulk candy display binsContinue from fixtures into bulk candy container planning.
Frequently asked questions
What are the most important candy store display fixtures?
Most stores need a combination of open racks or cabinets for the core assortment, a service counter or checkout zone, and one or more flexible feature displays. The exact mix depends on the product categories, site and service method.
Are custom candy display fixtures better than standard racks?
Custom fixtures are useful when the store has a special footprint, brand shape, service requirement or coordinated finish. Standard or modular racks are often the better choice when they already meet the assortment and operating needs.
What should I include in a candy fixture quotation request?
Include the site dimensions, product mix, fixture roles, finish direction, branding, lighting, equipment, delivery route and installation requirements. This gives the supplier enough context to price the real project rather than only a product photograph.
How do I prevent candy displays from making a shop feel crowded?
Protect entrance sightlines, control fixture depth, keep a clear customer route and use a visual hierarchy. Combine a few strong feature units with quieter everyday racks and cabinets.
Sources and further reading
- ADA.gov — 2010 ADA Standards for Accessible DesignUsed for the recommendation to review accessible routes and clear paths during fixture planning.
- U.S. Small Business Administration — Write your business planUsed to frame fixture selection as part of a broader operating plan.
Regulatory requirements vary by location. Confirm the final layout, food handling and accessibility requirements with the relevant local professionals before construction or opening.