
Candy Kiosk Design: How to Plan a High-Visibility Mall Retail Point
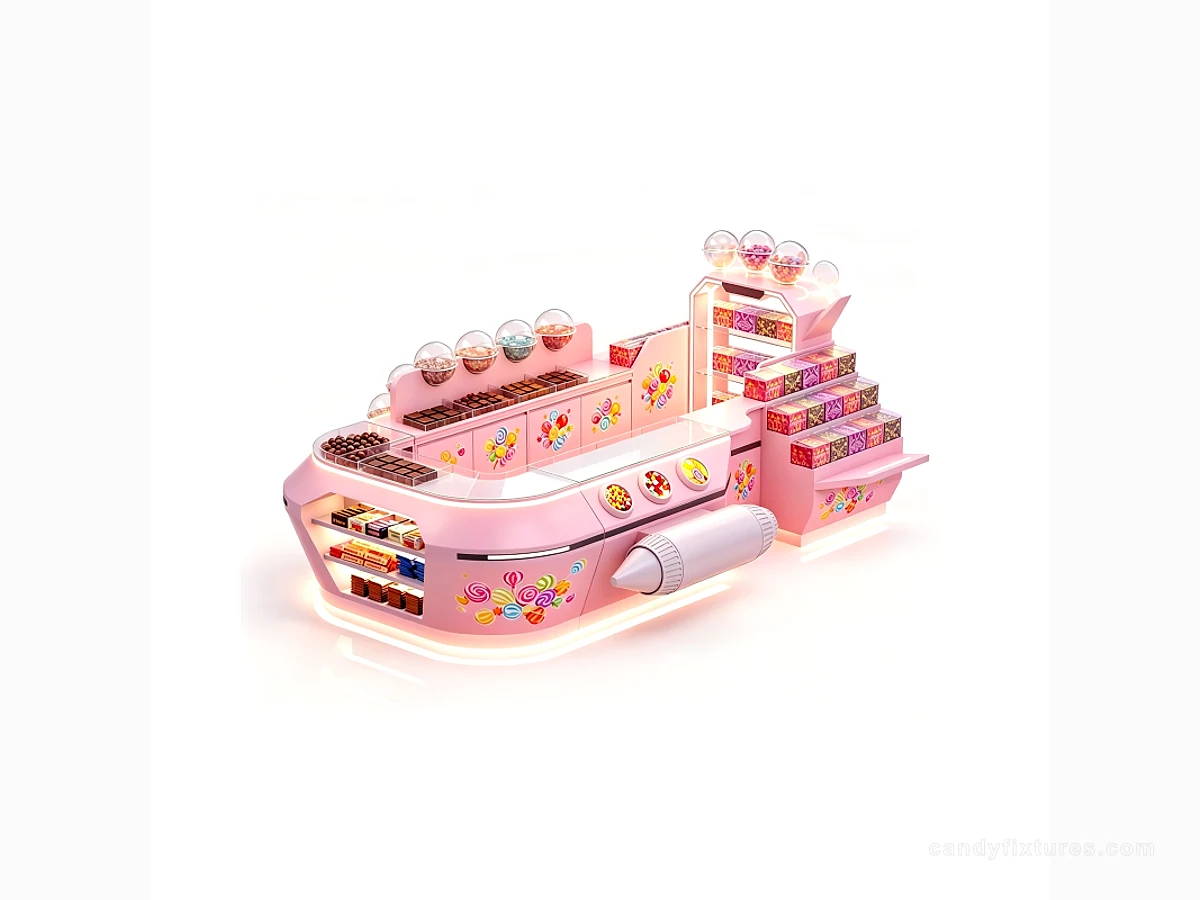
A practical candy kiosk design guide for planning visibility, customer access, service, storage, branding, delivery and installation in a mall or open retail environment.
A kiosk must work from more than one direction
Candy kiosk design is different from designing a room with a storefront. Shoppers may approach from the front, side or rear, and the kiosk usually sits inside a larger circulation zone rather than against a wall. The design must communicate the offer quickly while keeping the staff side practical and protected.
Start by listing the kiosk faces and giving each one a job. One face may carry the main brand message, another may show packaged candy, another may support service or pickup and another may hold storage or a secondary display. A face does not need to do everything, but every visible side should be intentional.
The final design should balance recognition and openness. A strong silhouette attracts attention, while open customer-facing surfaces make the products easier to understand. If the form becomes too closed, the kiosk may look like a sculpture rather than a retail point.
Confirm the mall footprint before drawing the shape
A mall or open retail site can impose rules about footprint, height, sightlines, power, signage, fire safety, delivery windows, overnight closure and public circulation. Collect those requirements before selecting a reference kiosk. A beautiful shape that violates a mall condition will need to be redesigned later.
Measure the leased or approved area separately from the space that must remain clear around it. Mark columns, nearby storefronts, escalators, elevators, seating, service doors and the normal customer approach. Record how modules can enter the mall and where the kiosk can be assembled.
When a project has not yet confirmed a final site, use a concept footprint and label it as an assumption. The final quotation should be updated after the mall plan, utilities and delivery route are verified.
| Area | What to confirm | Why it matters |
|---|---|---|
| Customer faces | Approach directions and sightline limits | Determines the display, brand and service positions |
| Working core | POS, weighing, packaging, equipment and staff access | Determines counter depth and hidden storage |
| Mall rules | Height, graphics, lighting, fire and closing requirements | Determines the permitted design and approvals |
| Delivery | Loading access, lift size, route and installation window | Determines module size and packing plan |
| Utilities | Power, data, water or drainage if required | Determines equipment and service coordination |
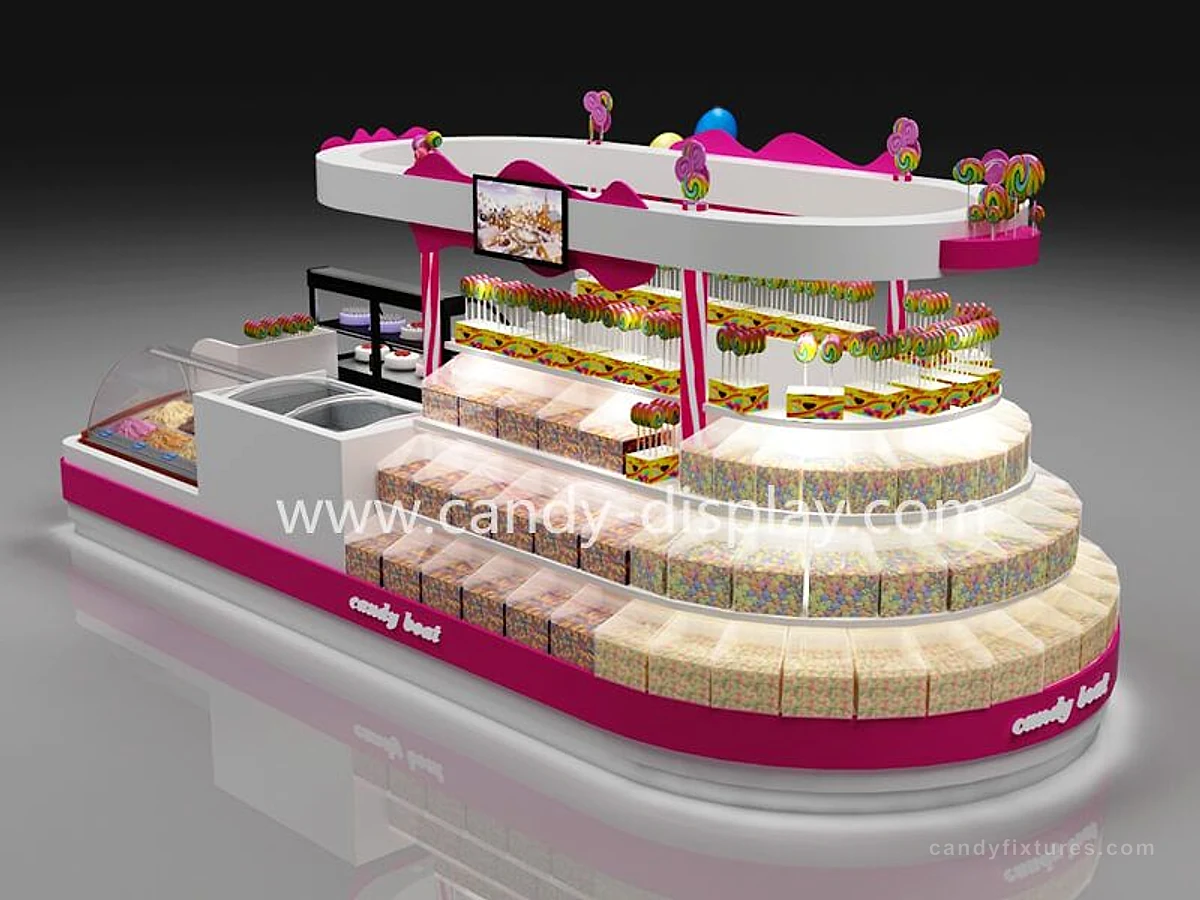
Create a clear customer journey around the kiosk
A customer should understand where to approach, what to look at first and how to complete a purchase. Use the most visible side for the first message, then arrange products so the customer can browse without crossing the staff work area. If the kiosk sells bulk candy, make the container and portion method visible from the approach.
Keep a comfortable open zone around the interaction side. Customers may pause, compare products, ask questions or wait for a bag. If the counter is placed too close to the public circulation line, the transaction creates a queue that affects both the kiosk and neighboring retailers.
For a kiosk with multiple open sides, use each approach direction as a different entry message. A shopper who sees the back first should still understand the brand and product category, even if that side is not the primary service face.
- Make the first product or brand message visible above lower display surfaces.
- Keep the service opening easy to recognize without making the staff work area fully exposed.
- Use a feature shape to attract attention, then support it with simple product grouping.
- Protect a clear route around the kiosk for shoppers, staff and mall operations.
Plan the service core and reserve storage together
The service core is the part of the kiosk that makes the retail idea operate. Depending on the concept, it may include a POS terminal, scale, packaging, gift wrapping, refrigeration, small equipment or a handoff point. Draw the staff movement between these functions before finalizing the counter shape.
Reserve storage should be close enough for replenishment but hidden from normal customer view. Divide the storage by task: bags and labels, fast-moving stock, cleaning supplies and equipment accessories. This makes the small footprint easier to manage during a busy day.
If the kiosk uses a distinctive shape such as a boat or themed vehicle, do not allow the theme to remove all practical access panels. The visual form and the service core need to be developed together so the finished kiosk is both memorable and maintainable.
Use branding, lighting and finish with a clear hierarchy
A mall kiosk needs to stand out, but visual intensity should be controlled. Use the main brand color, logo and feature shape to establish recognition. Use shelf lighting or accent lighting to support product visibility. Avoid making every edge, sign and surface equally bright, because the customer will not know where to look first.
Specify the visible finish and graphics clearly. A reference image can show a color direction or silhouette, but the final drawing should record the approved material, surface treatment, logo position, lighting location and access details. This avoids a gap between the presentation image and the production result.
Lighting also needs to be coordinated with the mall's electrical and operating rules. Confirm whether the mall provides a connection, where controls are located and who completes the final installation. The fixture supplier and local contractor may have separate responsibilities.
Review access, safety and local requirements
A kiosk is part of a public route, so its shape, corners, signs, displays and queue need to be reviewed as part of the surrounding environment. ADA.gov describes accessible routes and walking surfaces for covered facilities in the United States, while local authorities and mall requirements determine what applies to a particular project.
Keep display props, cartons, stools and promotional stands from reducing the intended route. Review the counter height and the location where customers hand over products or receive orders. If the kiosk includes food preparation, refrigeration or bulk candy, add the appropriate local food and equipment review before production.
The design should also support opening and closing. Panels, shutters, lockable storage, cleaning access and overnight protection need to be included in the operating brief. These practical elements are easier to solve before the shape is finalized.
Prepare the kiosk quotation and installation plan
Send the supplier the approved footprint, mall rules, customer approach directions, product mix, service equipment, brand package, lighting direction, finish references, target opening date and delivery route. The supplier can then separate the design, fabrication, packing, delivery and installation work.
Ask for a layout, elevations, finish references, module breakdown and service-side view. Confirm what happens at the mall: who unloads, who assembles, who connects equipment, who installs graphics and who handles final adjustments. A clear responsibility list reduces opening-day surprises.
The best candy kiosk design is not simply the most unusual shape. It is a coordinated retail point that attracts attention, keeps products visible, supports staff and fits the real conditions of the mall. A strong brief gives the visual concept a practical path to production.
- Approved or measured footprint with the surrounding clear route.
- Customer-facing sides and the role of each face.
- Product display, service equipment and reserve-storage list.
- Brand, graphics, lighting, finish and overnight security direction.
- Delivery modules, installation responsibilities and mall approval steps.
Related products and planning pages
Candy Boat Kiosk Pink Candy Counter Sweet Retail Store Bar Candy Spaceship Display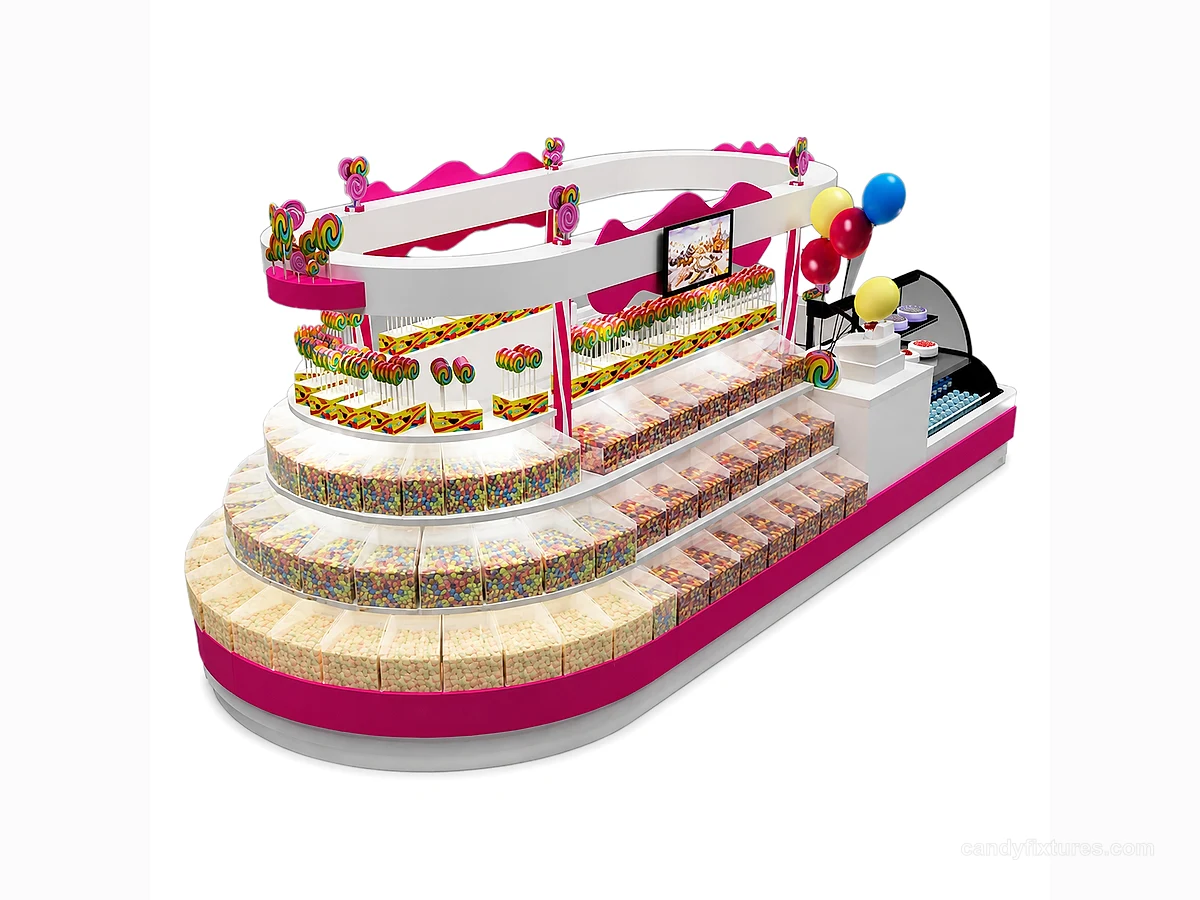 Boat Shape High-end Shopping Mall Candy & Ice Cream Kiosk Custom
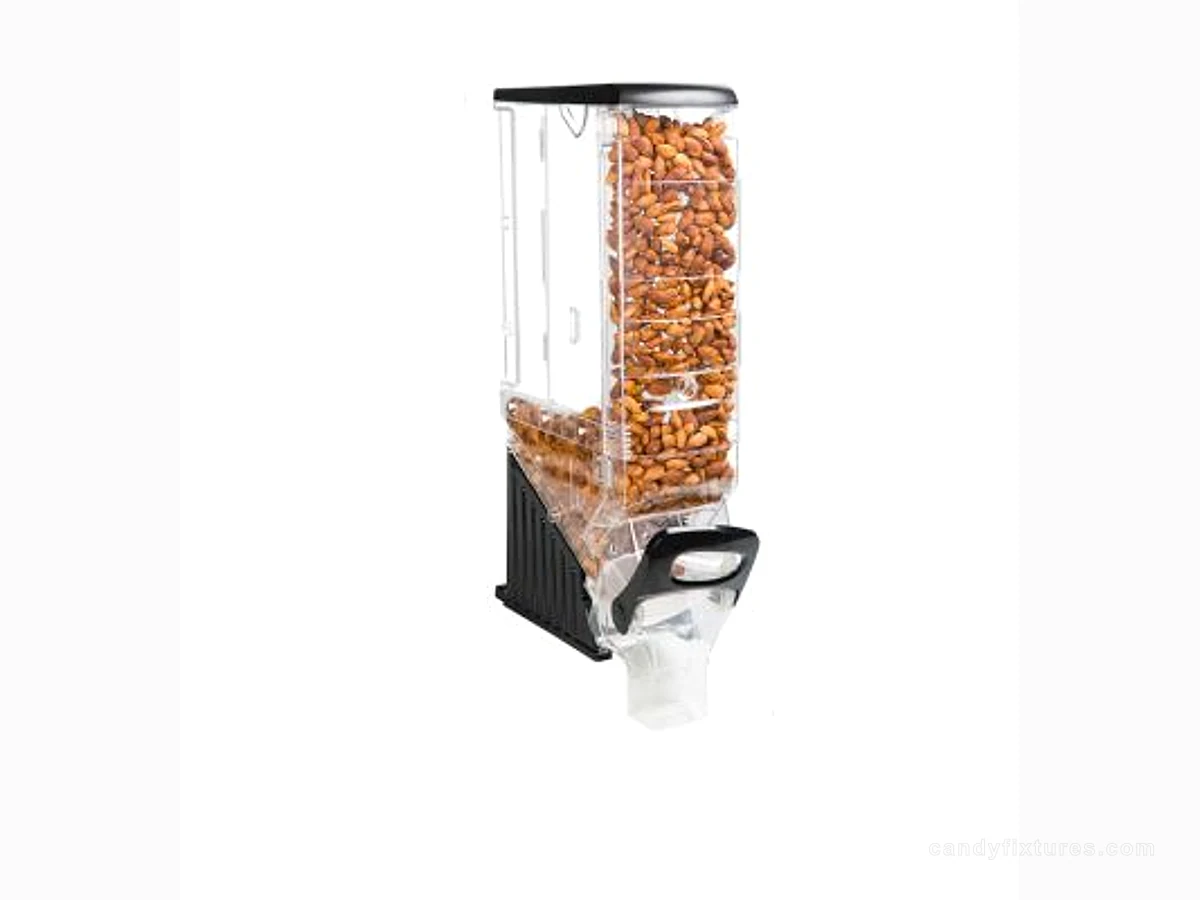 Supermarket Candy Store Wall-mounted Dispenser Nuts Bulk Candy Drop-down High Transparent Gravity Food Box
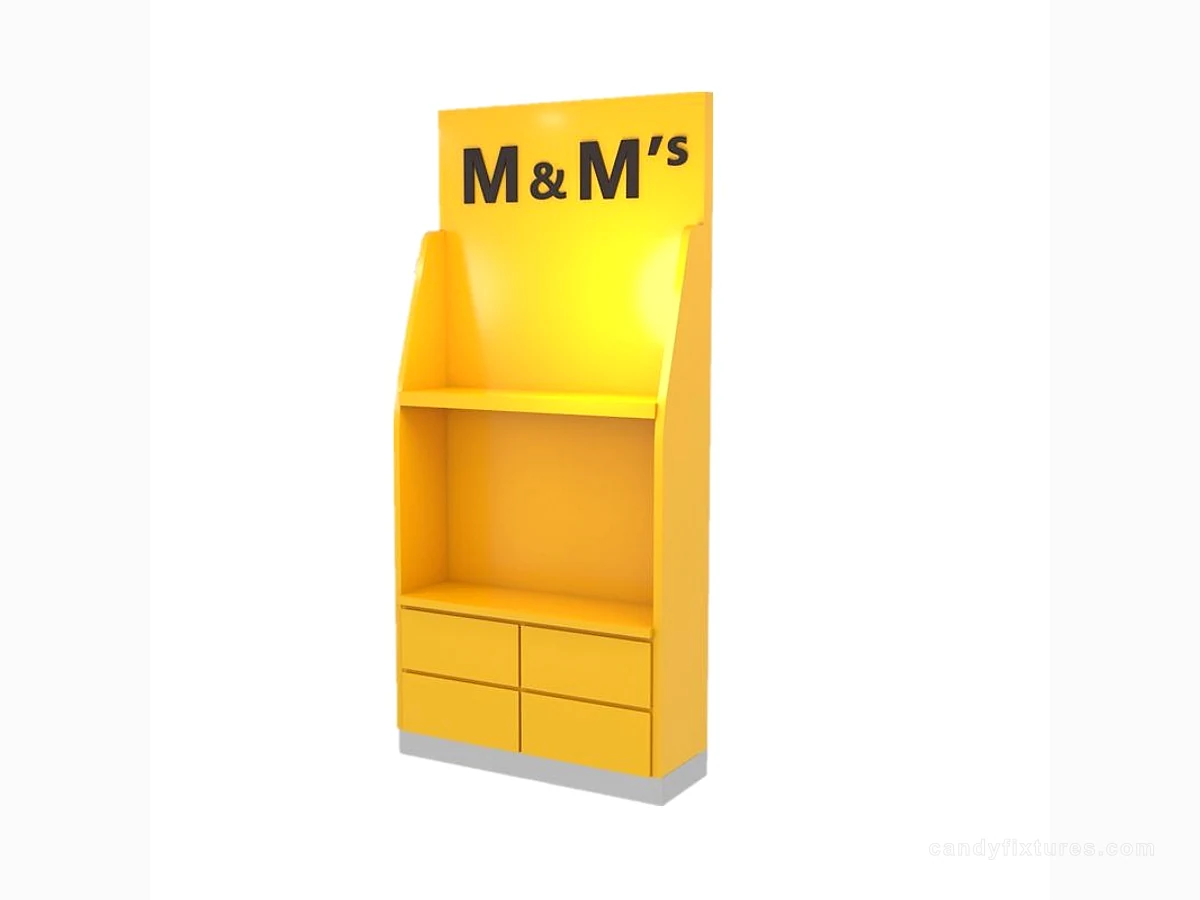 Candy Dispenser Display Cabinet Back-to-Wall Retail Showcase With DrawersHow to open a candy storeStart with the wider opening plan and operating brief.Candy store design serviceReview the design and project-planning service.
Frequently asked questions
What makes a good candy kiosk design?
A good kiosk combines strong visibility, clear product presentation, an efficient service core, nearby reserve storage, a comfortable public route and a shape that can be delivered and installed at the actual site.
How many sides should a mall candy kiosk display?
The number of active sides depends on the customer approach directions and mall footprint. Each visible side should have a clear job, even if only one side contains the primary service point.
What should I send a supplier for a candy kiosk quotation?
Send the footprint, mall rules, approach directions, product mix, service equipment, brand package, finish, lighting, delivery route and installation requirements. Include reference images as design evidence, not as final dimensions.
Can a candy kiosk also sell ice cream or dessert?
It can, but the equipment, utilities, storage, cleaning and local requirements become broader than a dry-candy kiosk. Treat the dessert equipment and service routine as part of the initial layout brief.
Sources and further reading
- ADA.gov — 2010 ADA Standards for Accessible DesignUsed for the recommendation to review public routes and service access during kiosk planning.
- U.S. Small Business Administration — Write your business planUsed to frame the kiosk brief as part of the operating and investment plan.
Regulatory requirements vary by location. Confirm the final layout, food handling and accessibility requirements with the relevant local professionals before construction or opening.