
Candy Display Trays: Check Support, Edges and Refill
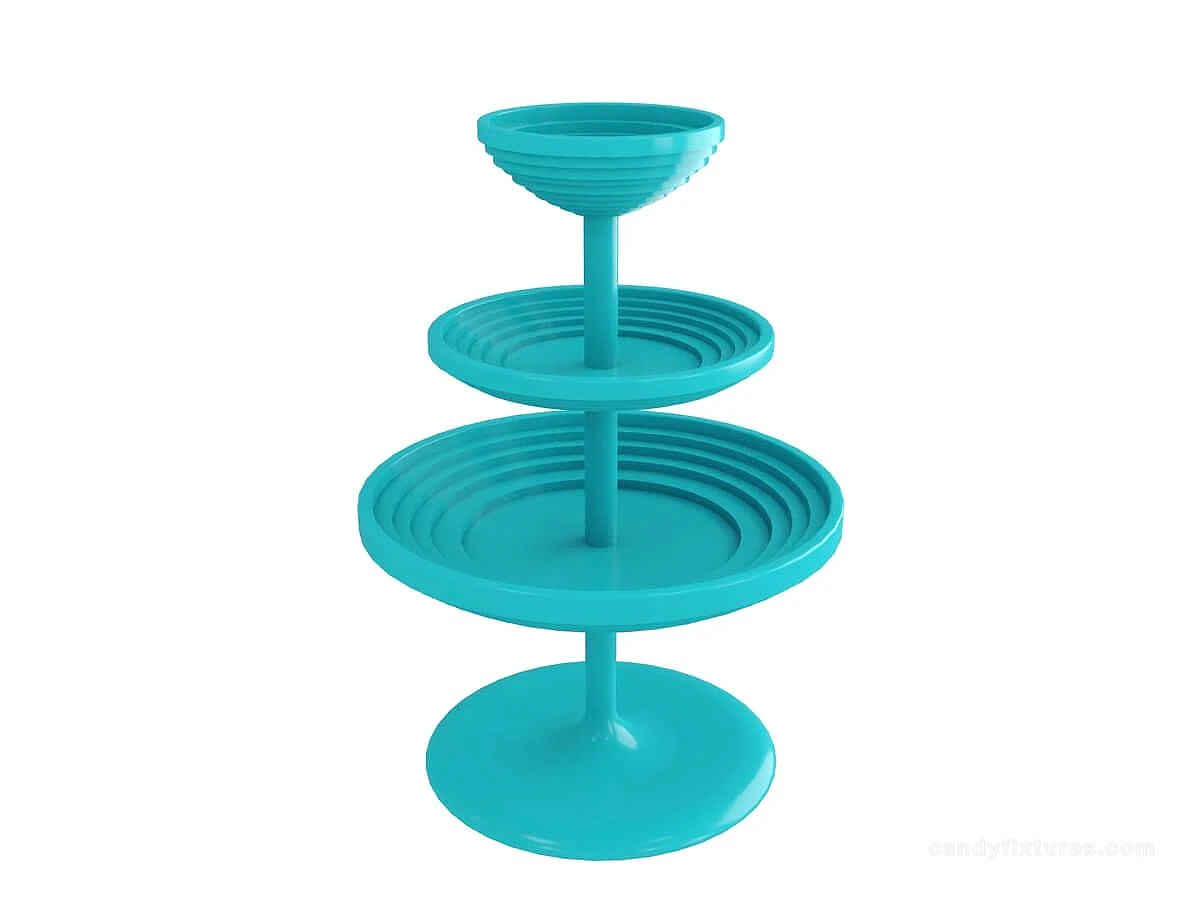
A tray separates a selection visually, but it also defines how packs are supported and handled. Compare usable area rather than the external size.
Start with the decision
Place the intended packs inside the tray and test the front edge. A low rim may improve visibility but provide less retention; a high rim can hide labels on small products.
Work through the details
For tiered trays, check spacing with the tallest pack and leave room for a hand to remove it. Obtain the permitted load and support arrangement for the exact stand rather than inferring it from a decorative photo.

A planning example
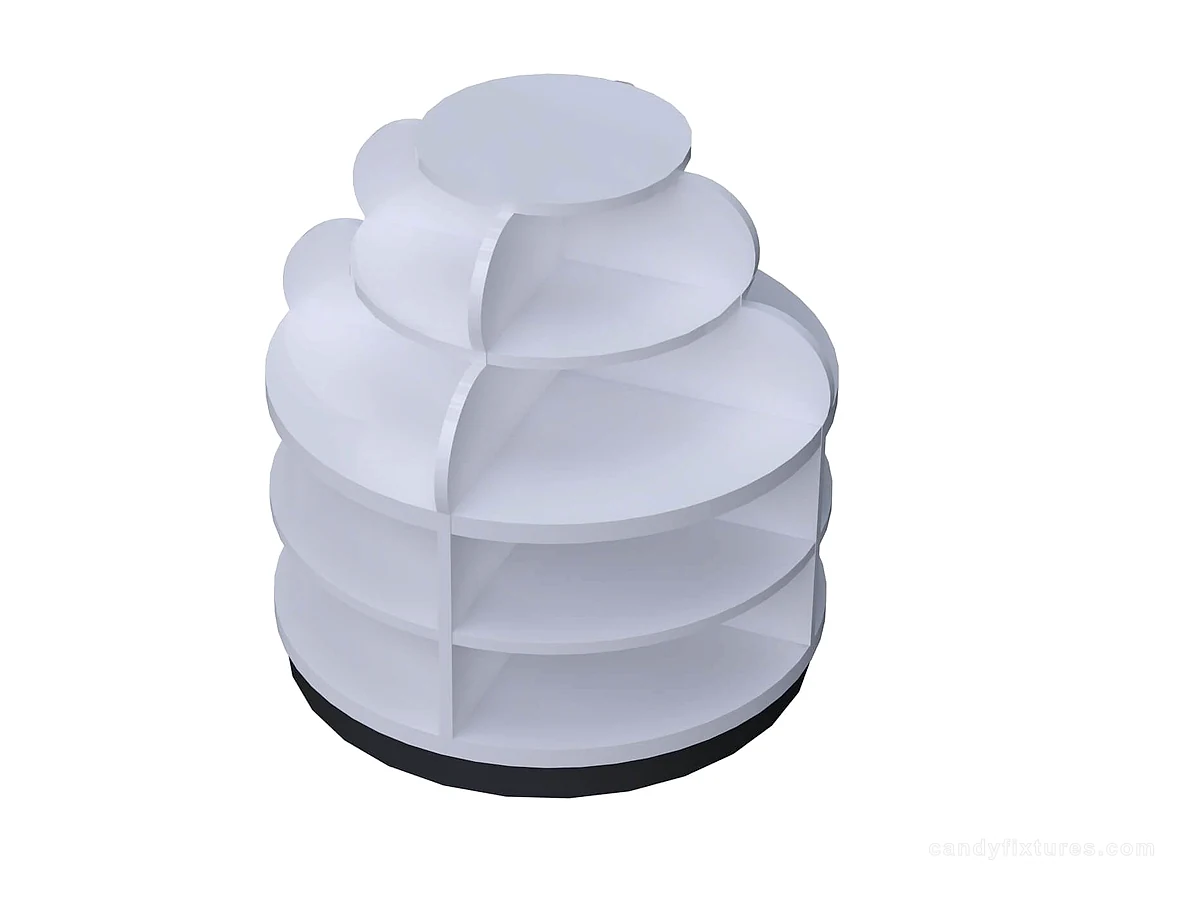
A gift box fits on a tray in isolation but cannot be removed beneath the tray above. Build the complete tier arrangement before ordering. Allow the customer's hand and pack movement as well as the static product height, then check how the row is refilled.
Check it in the shop
Plan where the tray goes during refilling or cleaning. Keep product labels with the correct tray and use material information appropriate to any intended direct food contact.
Related products and planning pages
Turquoise Three-Tier Candy Tray StandWhite Rounded Tier Display Cabinet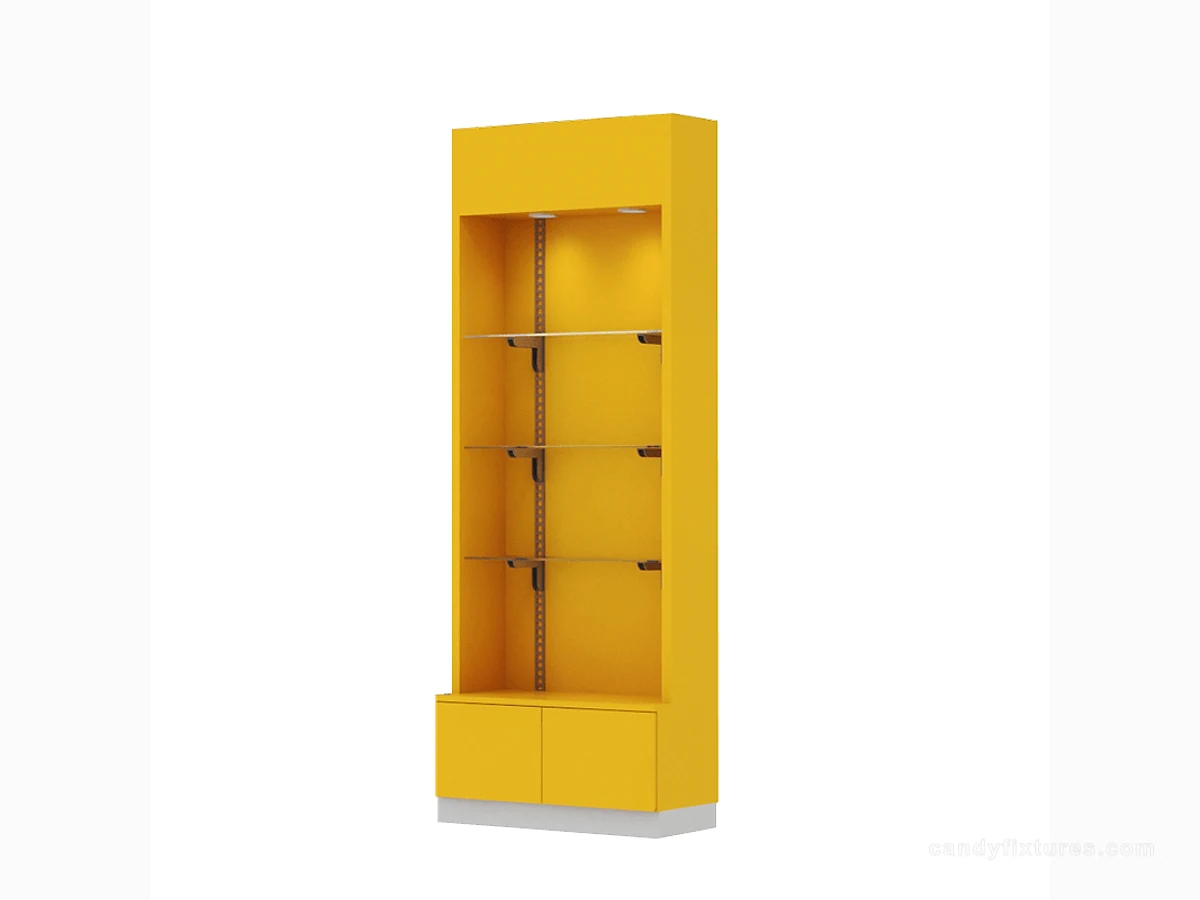 Yellow Shelf Cabinet with Clear Panels
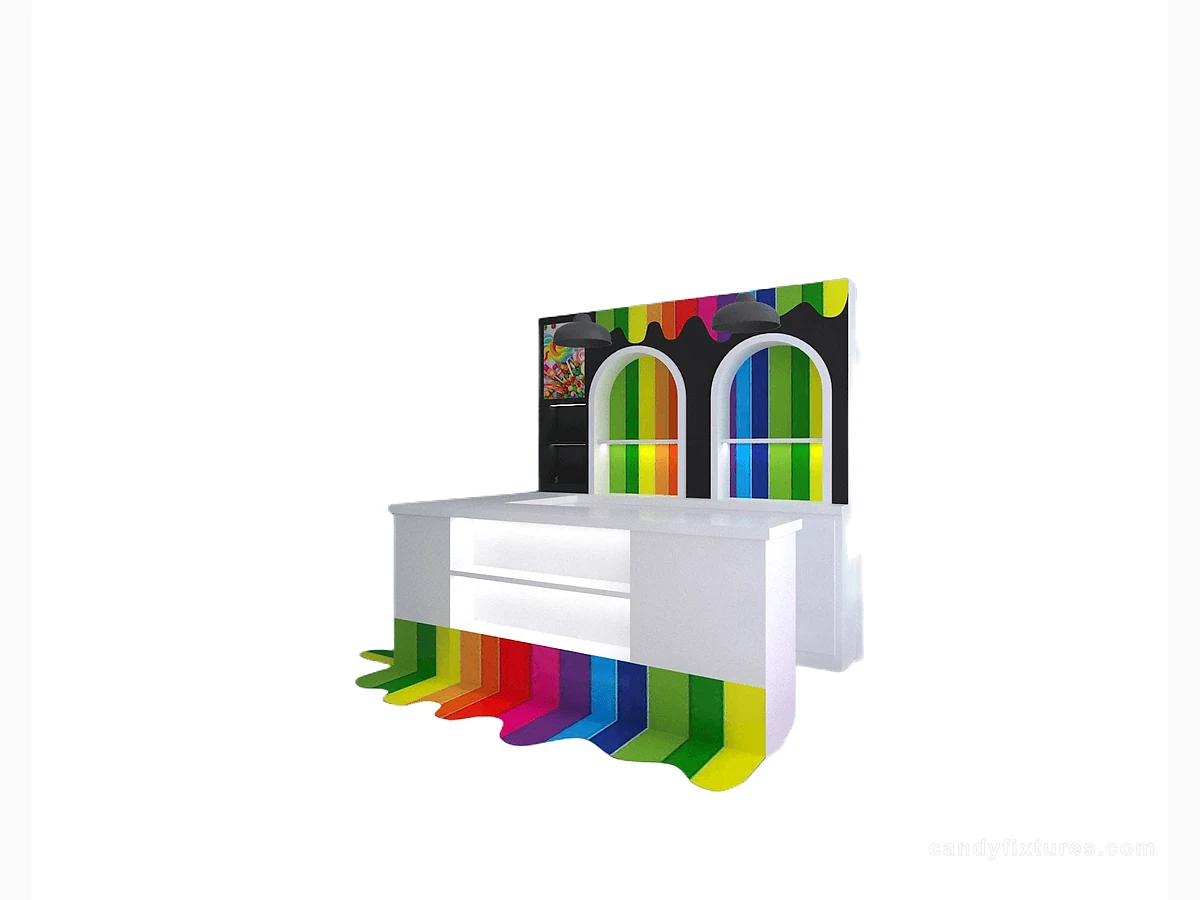 White L-Shaped Checkout CounterCandy Display StandsCompare related display formats.Candy Store Layout: How to Plan Customer Flow, Displays and Back-of-House SpaceConnect this display decision with the wider store operating plan.Candy Store Merchandising Ideas: Build Displays Shoppers Can UnderstandConnect this display decision with the wider store operating plan.Candy Store Operations: Build a Simple Inventory and Replenishment RoutineConnect this display decision with the wider store operating plan.
Frequently asked questions
Does the tray's external diameter equal its display area?
No. Rims, supports and curved sides reduce the area available to support products.
Sources and further reading
- U.S. Access Board — Accessible routesBackground reference retained for further reading. Check the requirements applicable to your product and location.
- FDA Food CodeBackground reference retained for further reading. Check the requirements applicable to your product and location.
- FDA — Have Food Allergies? Read the LabelBackground reference retained for further reading. Check the requirements applicable to your product and location.
Use the linked material as background. The accepted product information, equipment instructions and requirements applicable to your location determine the final operating and installation decisions.